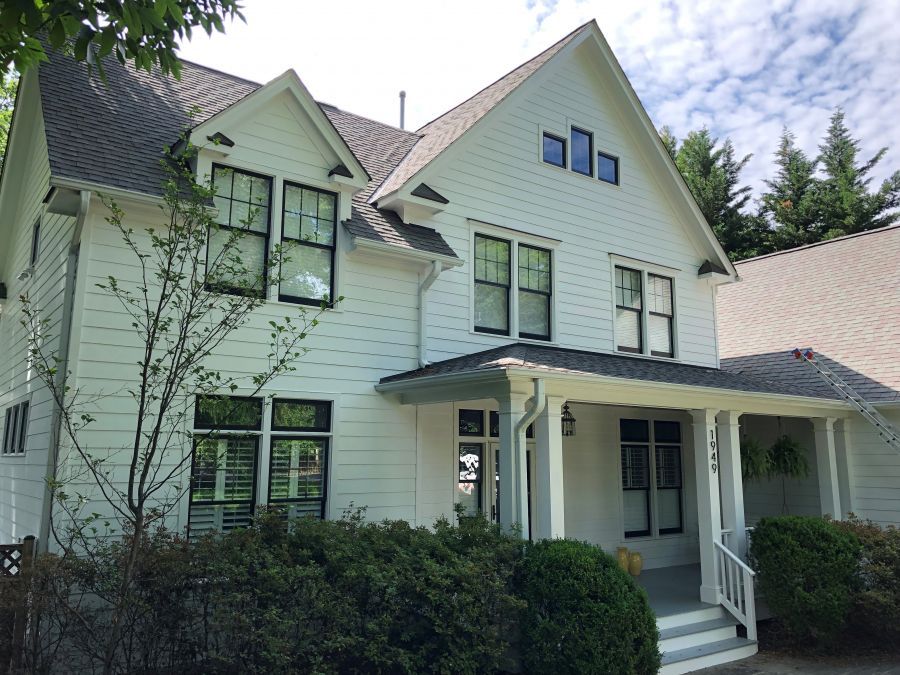
Over the years trim become dented and scratched. Not to mention that it also becomes dull and dusty over the years. So, getting them in top shape is in order if they are looking a little beat up.

The first step in this is to go down and mark all the areas that are dented. This is going to help us later. Taking note of each of the areas is important if you want a smooth finish. You can take a pencil and just circle them. Once you’ve done this you’re going to want to start sanding. Sanding it is just to help smooth out your trim. Once you feel it is pretty smooth then you should be good to go for the next step. In addition to sanding, some like to take a putty knife and remove where there was thick paint hiding the details of the trim work. This is completely optional. It just depends on how detailed you want to get with it. You’ll want to vacuum after you sand and bring back some of those finer details to your trim though.
Once you’ve got the vacuuming done you’ll want to fill in the dents and holes with a spackle compound. Once those areas have dried you’ll want to make sure that it didn’t shrink too much. If it did then you’re going to have to do another coat. After the hole has been filled you’ll need to sand it down so that it is smooth with the rest of the trim. It will give you the perfect smooth touch and therefore the perfect look. After you’ve got it all sanded down there you’ll want to prime the areas that you sanded down to the bare wood or have filled in with the spackle.
Once you get this far into the process there is one last thing to do before you lay on a fresh new layer of paint. You’ll want to make sure that you caulk the seams so that you don’t have gaps and joints. Make sure to get a paintable type of caulk. It doesn’t have to look pretty because you’re going to paint over it. Once you’ve gotten this far, don’t give up on the project. The last thing yet to do is to take a brush and can of paint to it. Make sure to tape the areas you don’t want painted like that wall and carpet.
Your trim will look good for years after some touch up work! If that seems too much for you though, call us today for an estimate! We want your home to keep looking beautiful and a fresh coat of paint will do just the job. You might not think that trim work makes a difference to the appearance of your home, but it does! If you’re looking at other areas of your home you want to be painted, we can help!
This blog helps you find out whether your exterior window trim needs repair or replacement by covering key signs of damage and the best long-term solution.

Find out when a full repaint is worth the investment and when smaller painting updates can still boost your home’s value.
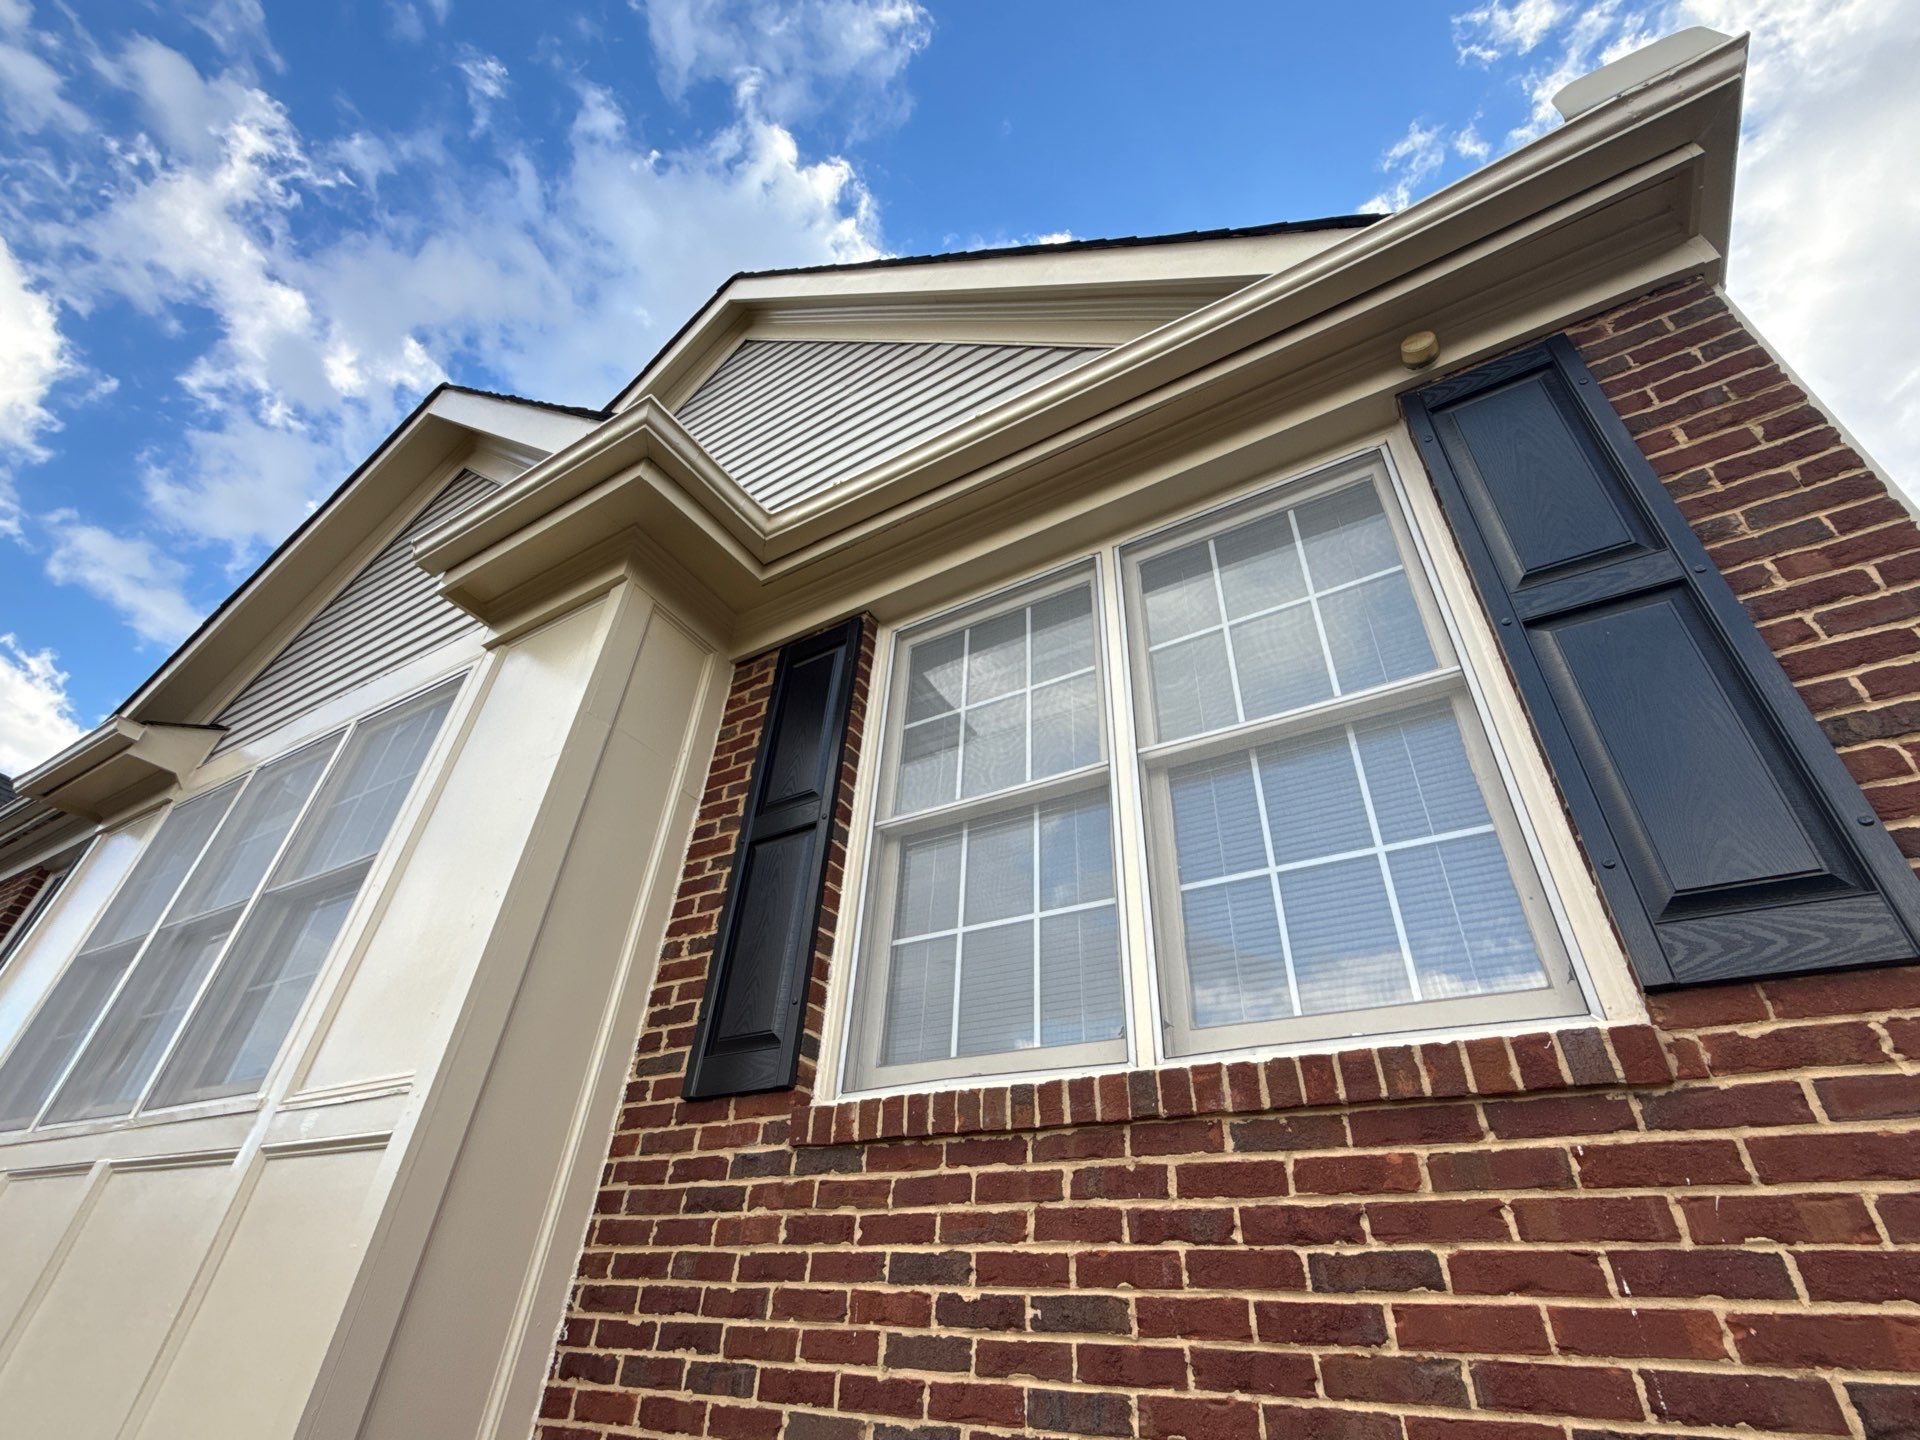
Learn what you need to know about painting brick and fiber cement siding, including proper prep and the right exterior paint.
