You took the afternoon off. You went to the home improvement store to get supplies. All so you could give your room a fresh new coat of paint.

Understanding why peeling paint happens is the first step to making sure that it never happens to you. Oftentimes, this issue is a result of impatience in one form or another. Such as, not cleaning the surface of the wall beforehand, not priming, not allowing paint to dry completely between coats, as well as buying poor quality paint. If you are having issues in a room that gets a lot of humidity, this can also play a role since moisture can impair paint’s adhesive qualities.
If you catch sight of peeling early on, you should be able to just patch the problem instead of completely repainting the entire wall. Make sure to wear safety goggles and a mask while completing the first task since you do not want paint chips to fly into your eyes, nose, or mouth.
To get started, protect your flooring and trim with coverings. Then, using a putty knife, scrape away all the peeling paint you can find.
After that, apply a thin layer of quick setting patching compound to the bare areas. Let that dry overnight.
The next day, begin by sanding the puttied areas until smooth and flush with the rest of the wall. Then, clean the dust and debris away with a damp cloth. Allow that to dry completely.
Once that is dry, apply a primer. As we mentioned briefly, this is not something that you want to skip out on.
And finally, finish up by painting the patched areas. Start in the center of the patch and feather the paint out towards the edges. Try not to use the shower or bath for 24 hours if working in the bathroom.
If you want flawless results from the start, however, just give My Arlington Painter a call. We never skimp on preparations and always leave homes and offices with long lasting results.

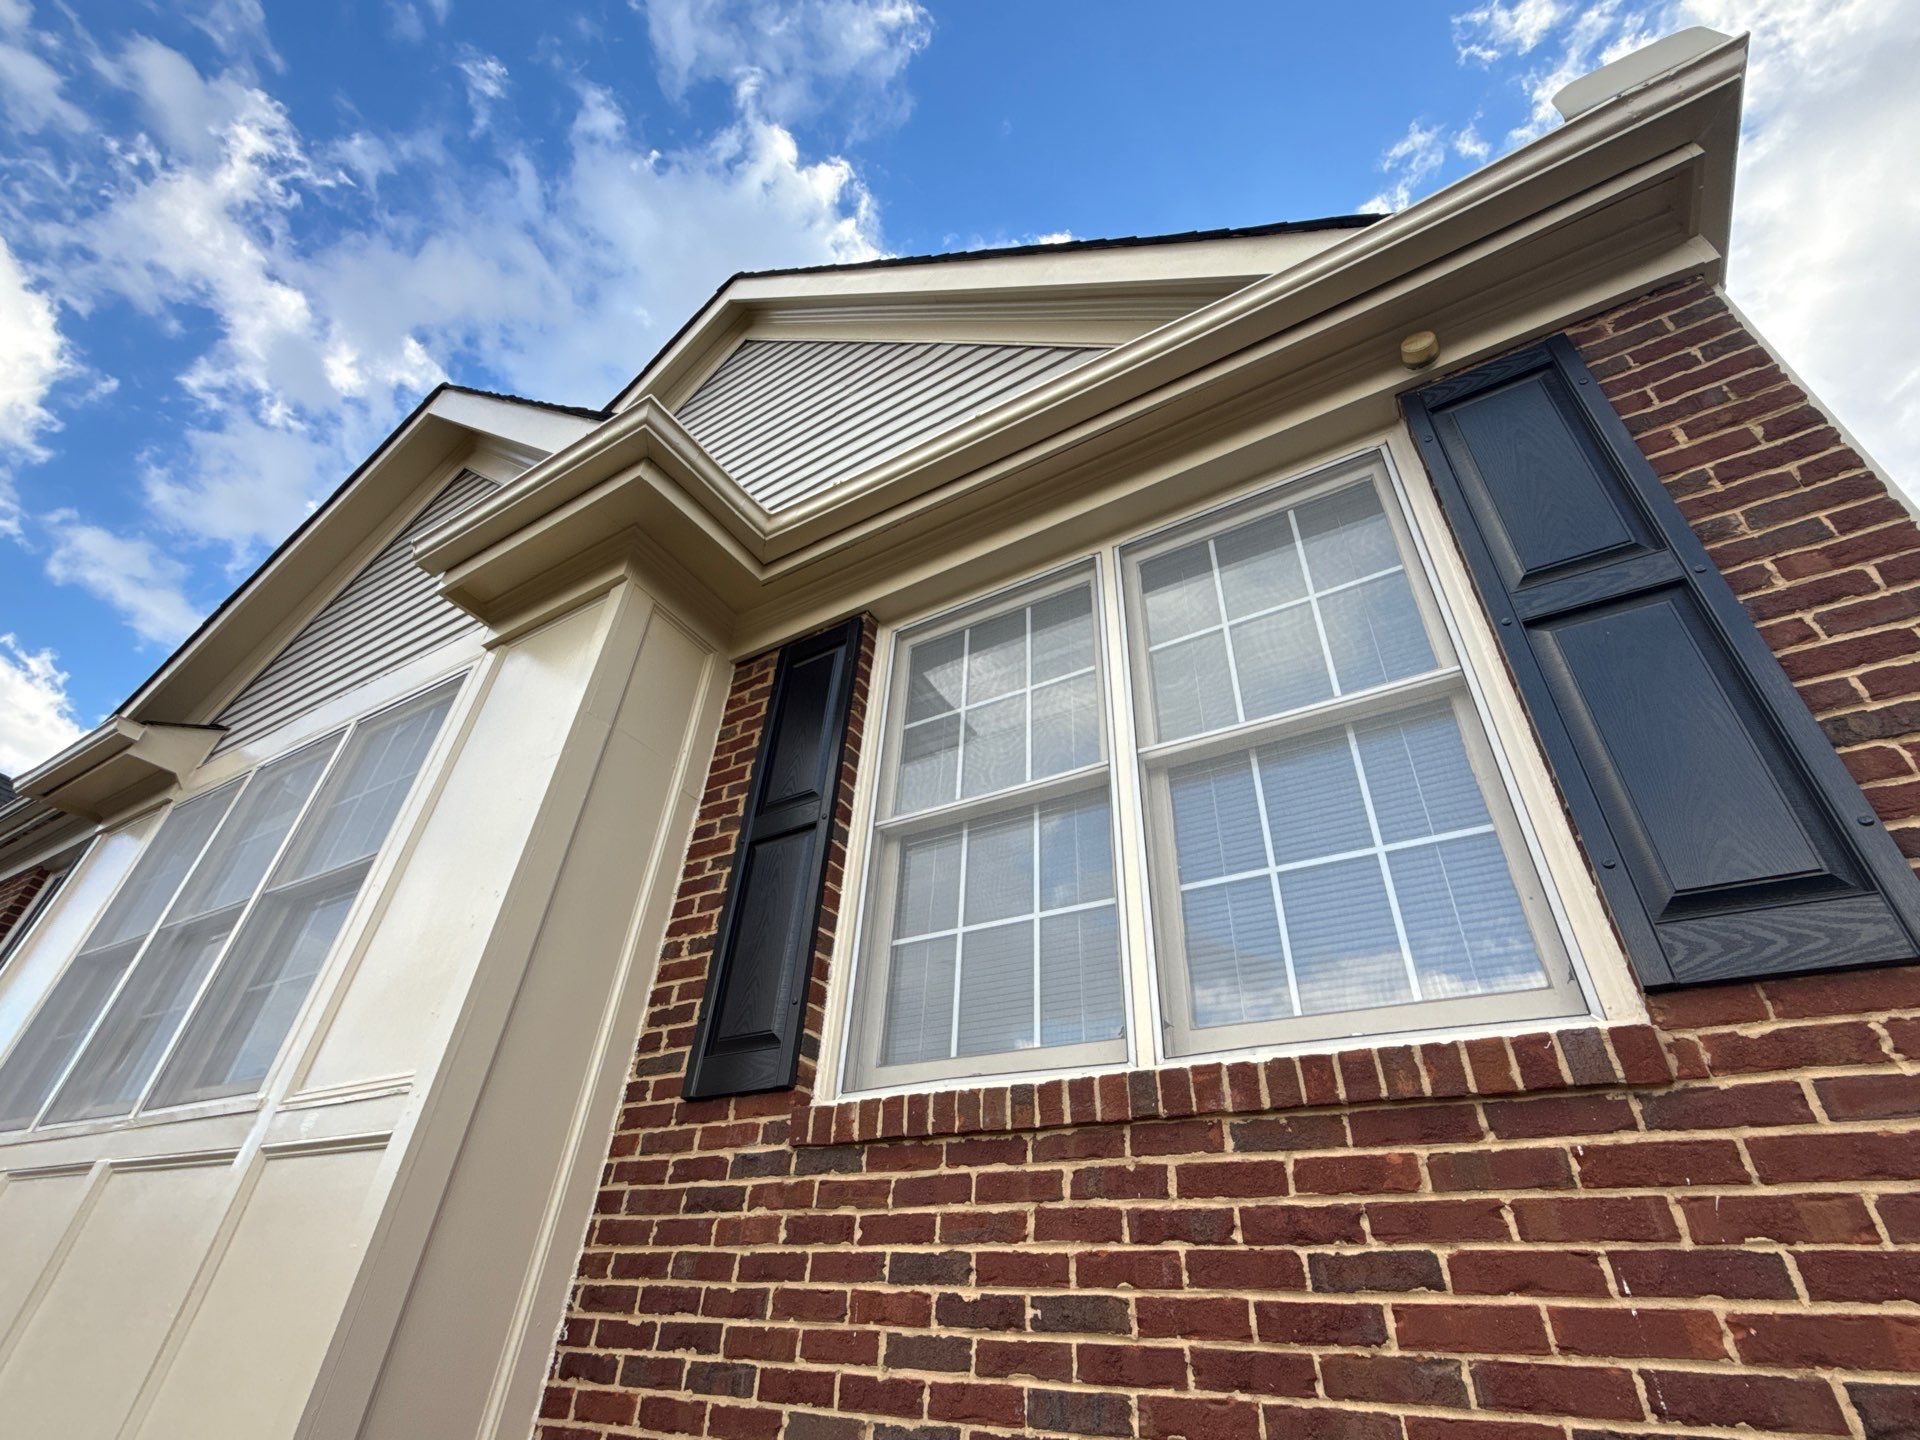
This blog helps you find out whether your exterior window trim needs repair or replacement by covering key signs of damage and the best long-term solution.

Find out when a full repaint is worth the investment and when smaller painting updates can still boost your home’s value.
Learn what you need to know about painting brick and fiber cement siding, including proper prep and the right exterior paint.
